


When you create a new document in Microsoft Word, it looks decent right off the bat. But sometimes you want to make your page look much better than the default.
You could make page layout designs in Microsoft Word from scratch. Or skip the grunt work by using Microsoft Word templates.
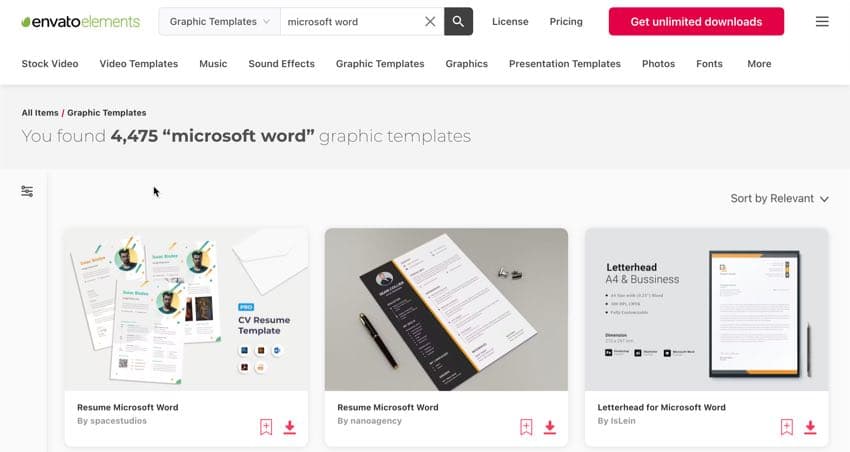
Envato Elements is a great source of print templates for Word. Each template is made by professional designers. Elements makes a compelling offer. Download unlimited templates, fonts, photos, and other creative assets for one fixed subscription price.
How to Make Awesome Page Layout Designs in Microsoft Word (Video)
If you create or modify documents in Word, you may want to change the standard Microsoft Word layout. There are a number of changes you can make.
Watch this quick screencast to find out what you need to know about Word page layout options:
To learn more about changing page layouts in Microsoft Word, study the complete written tutorial below.
Why Learn About Page Layouts In Word?
Page layout settings in Word determine how your Word document design looks when you print it out. It includes the page orientation, margins, and columns, for example.
It’s important to pay attention to the page layout of your document for several reasons:
- It ensures consistency. This gives your readers a good experience while consuming your document.
- A good page layout makes your document more readable. When your document is aesthetically pleasing and has a consistent look, your audience is more likely to read, comprehend, and remember your content.
- A well-designed document reflects well on you. It reinforces your credibility and authority in your field.
Microsoft Word has robust page settings that allow you to control your page layout design. Everything is designed to be as simple and intuitive as possible. Yet doing page layout in Word can be daunting if you’re new to the software.
This article breaks things down for you. So you can follow along, step by step, and take control of how your document looks.
How to Work With Templates to Quickly Change Your Design
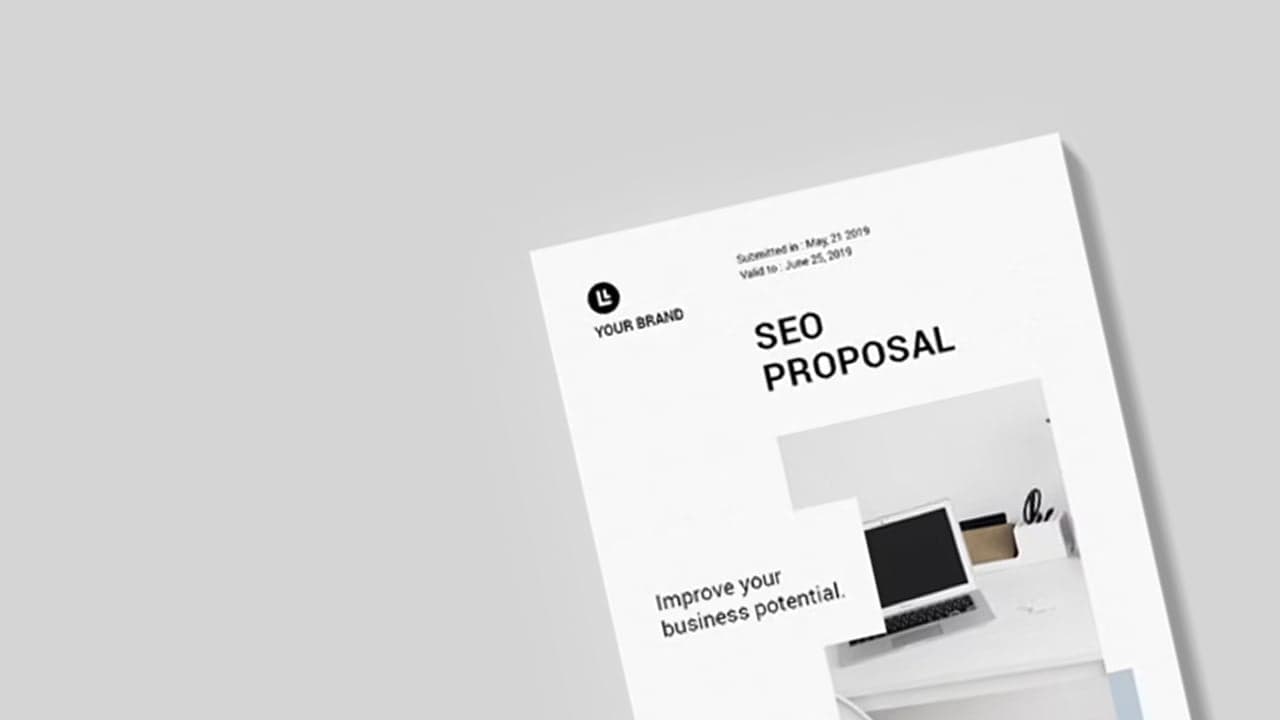
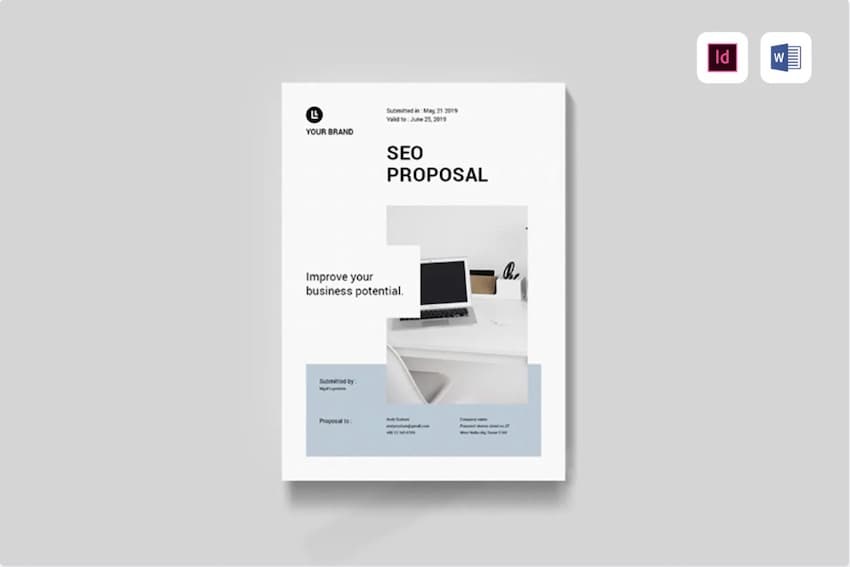
The quickest way to change or apply a Word layout option is by using a print template for Word. For the examples below, we’ll be using the SEO Proposal template from Envato Elements.
When looking for a print template for Word, it’s a good idea to choose one that uses paragraph and character styles. The styles feature will allow you to quickly format text even in a long document.
Now that you’ve chosen a template with a good page layout in Word, it’s time to learn how to use it.
1. Download the Template
Download the template of your choice to your computer’s hard drive. Unzip the file, and then copy the template. This way, you’ve got the original template file intact if you want to revert to it.
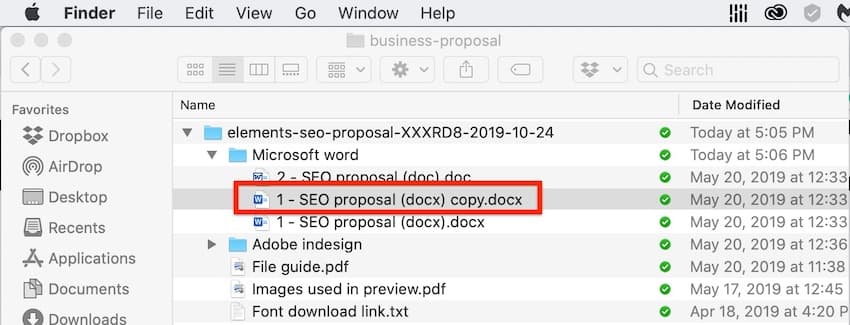
Make a copy of the Word file so that your original stays intact.
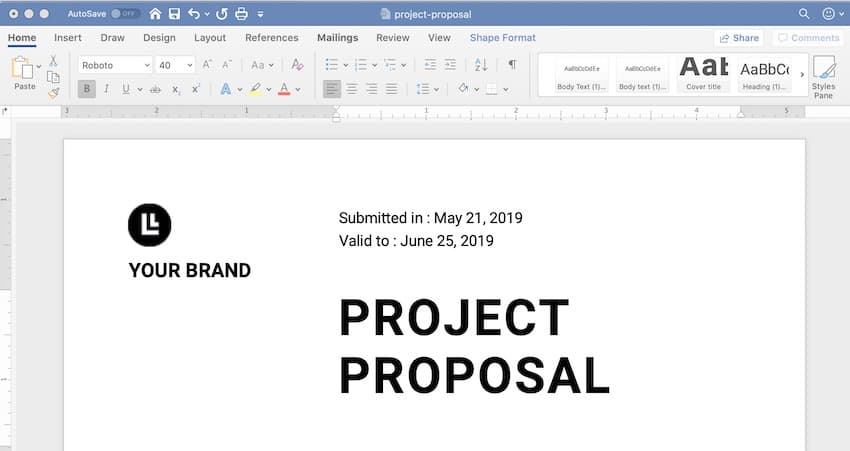
2. Customize the Template With Your Own Content
Replace the text with your own information.
If you want to change the text formatting, change the settings for fonts and paragraphs.
To add your own image, click on an image placeholder. The Format Picture dialog box opens. Under Fill, select Picture or texture fill. Under Picture source, click Insert….
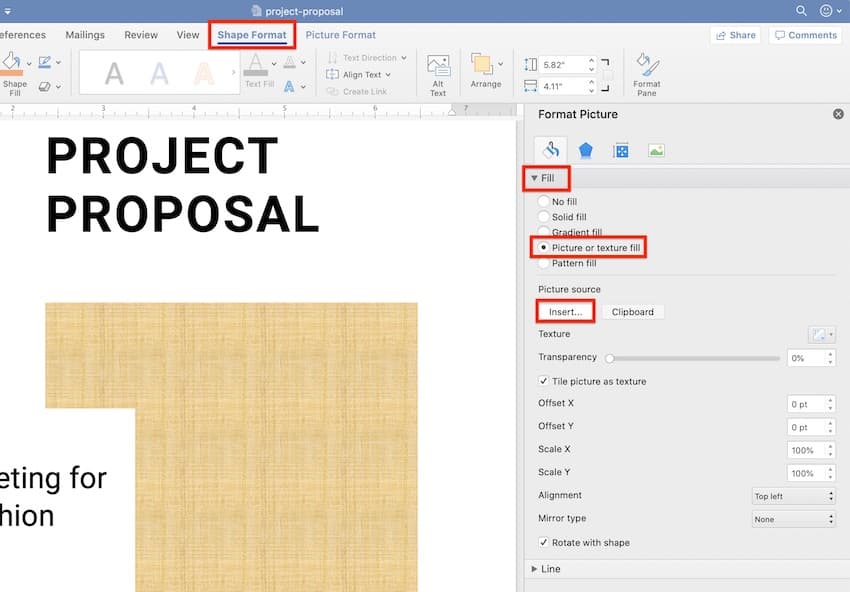
Find and select the image you want to use. Click Insert.
Select the image file and click Insert.
Now, the image is inserted.

Notice the difference an image can make in your page layout in Word.
To replace an existing logo on the template, click on the logo, then click on the Picture Format tab.
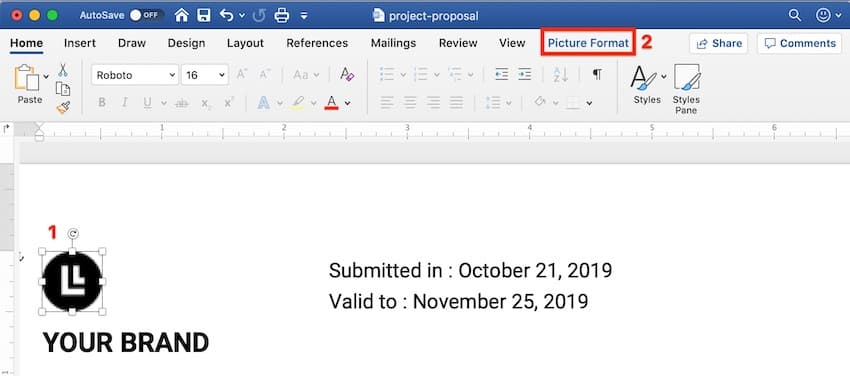
Click the Change Picture button on the ribbon. Find and select the logo file, and then click Insert.
If necessary, click and drag one of the handles of the logo to resize it.
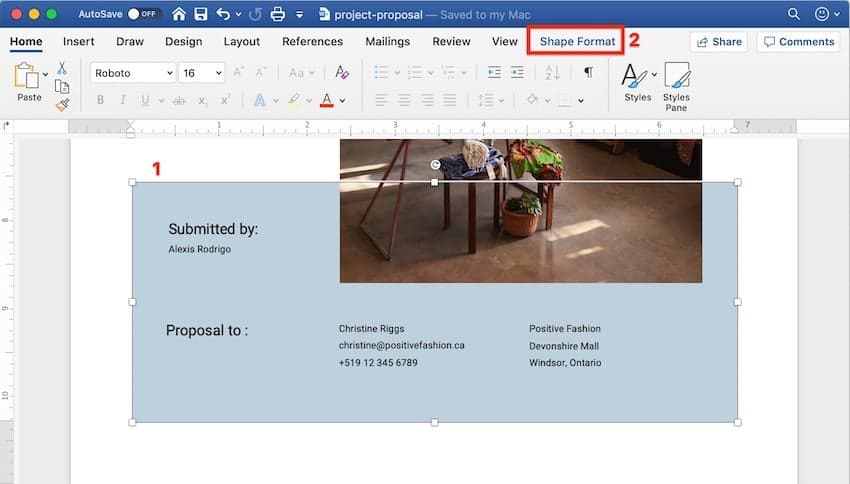
Next, I’d like to change the color of the rectangle on the cover page. To do that, select the shape, and then click the Shape Format tab.
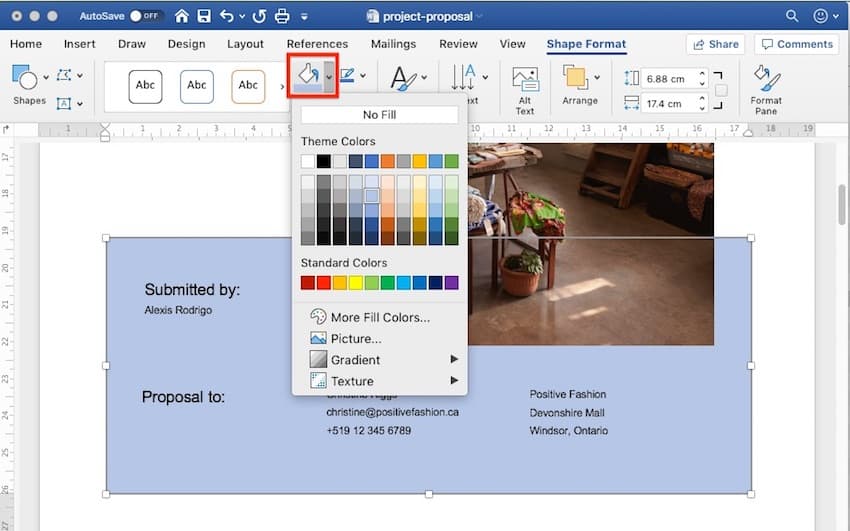
The Shape Format ribbon is displayed. Click on the drop-down arrow beside the Shape Fill button. Select from the color options shown, or click More Fill Colors… to specify the color you want to apply.
This is what the customized proposal cover Word design looks like now:

Repeat these steps to customize the Microsoft Word design for the other pages of the template.
As you can see, when you start with a template for Word, most of the design and page formatting decisions are already made for you by the template creator.
But, if you prefer to start your document from scratch, follow the steps below to change the default page format settings.
Type or paste your text into the document. Apply text and paragraph formatting to modify settings for fonts, spacing, alignment, and more. Then, you can move on to the page layout.
3. How to Set the Microsoft Word Page Orientation as Portrait or Landscape
You may be wondering how to make one page landscape in Word.
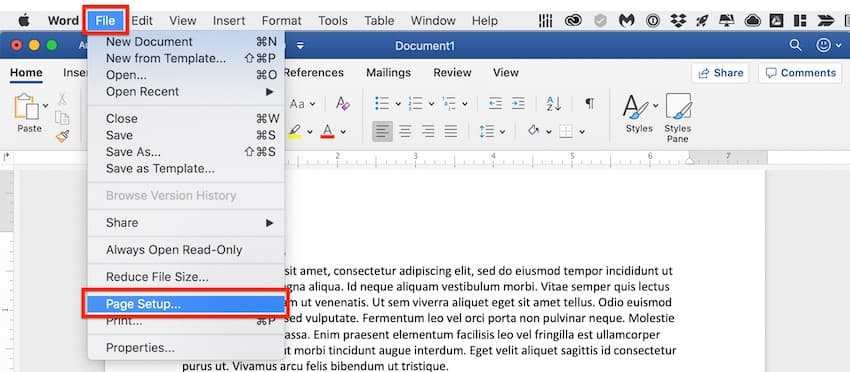
To set the Microsoft Word page orientation of your document, go to File > Page Setup….
The Page Setup dialog opens. Click on the button for either Word portrait or landscape layout orientation.
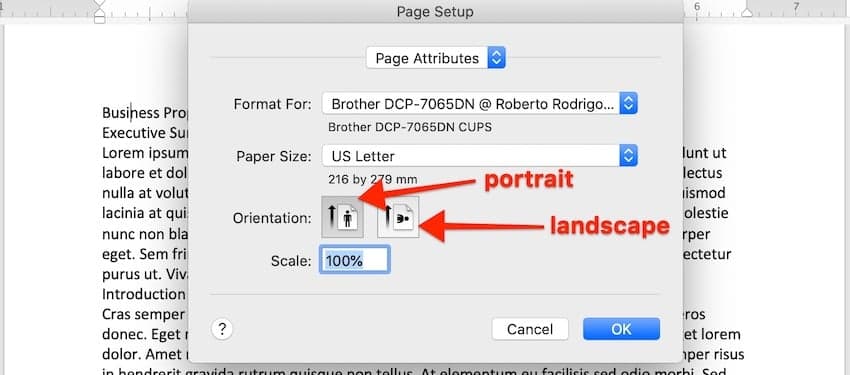
Use the Microsoft Word Page Setup dialog to choose the Word layout orientation that’s right for your document.
4. How to Set the Print Size of the Paper
From the Microsoft Word Page Setup dialog, you can also change the paper size when you print the document. Click on the Paper Size field to show the different paper size choices available.
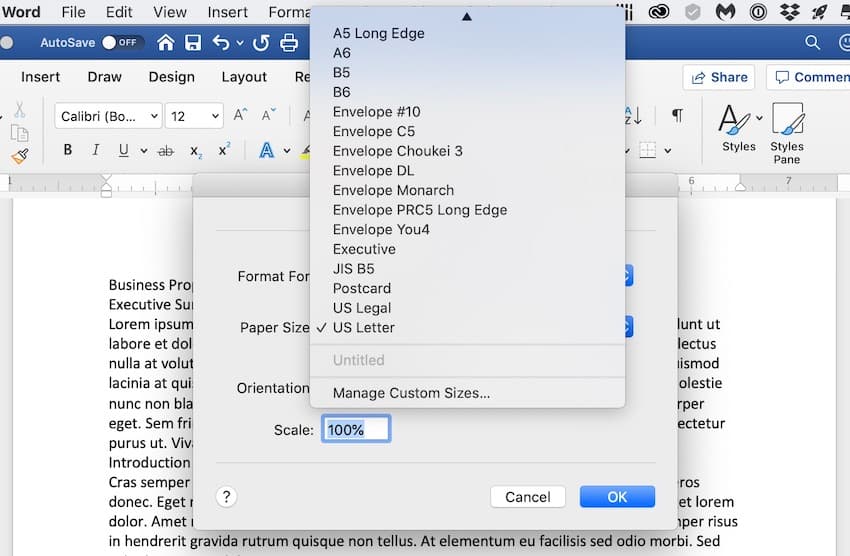
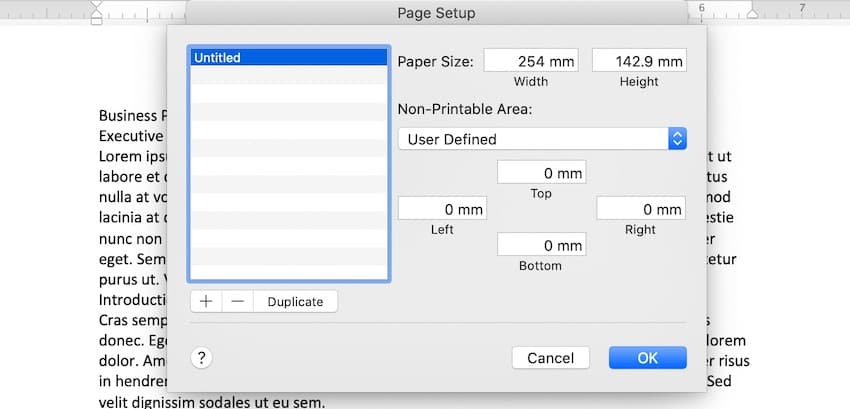
Select the size you wish to use. You can also click Manage Custom Sizes… to specify your own size.
5. How to Split Your Text Into Multiple Columns
Sometimes, you may want to divide your text into columns. This can make the document more readable and add variety to an otherwise monotonous page layout on Word. Columns are popular in magazines, newsletters, and similar types of materials.
Arrange the Entire Document Into Columns
To change the MS Word layout options to columns, follow these steps:
1. Go to Layout > Columns.
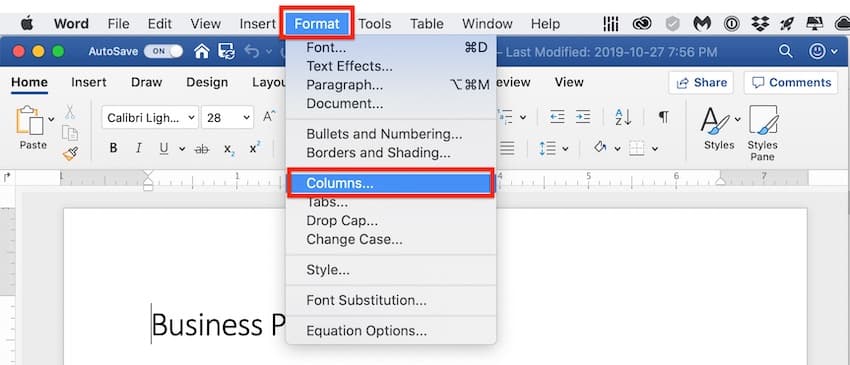
The Columns dialog box opens.

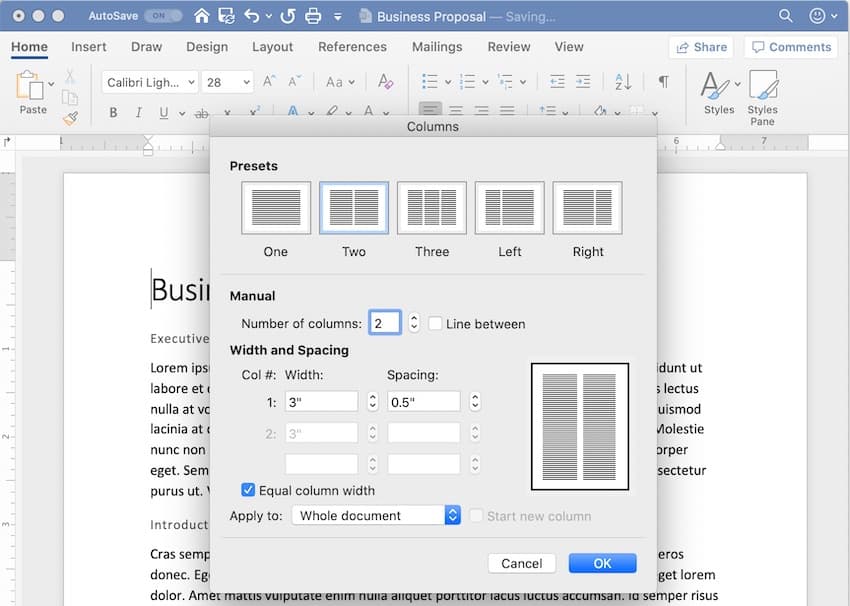
Use the Columns dialog box to set the number of columns.
2. Select one of the Presets or manually set the:
- number of columns
- width and spacing
- apply to the whole document or from that point forward
3. When you’re happy with the settings, click OK.
Apply Columns to a Part of the Document
You can also apply columns to only a specific part of the document.
1. Select the text you wish to display in columns.
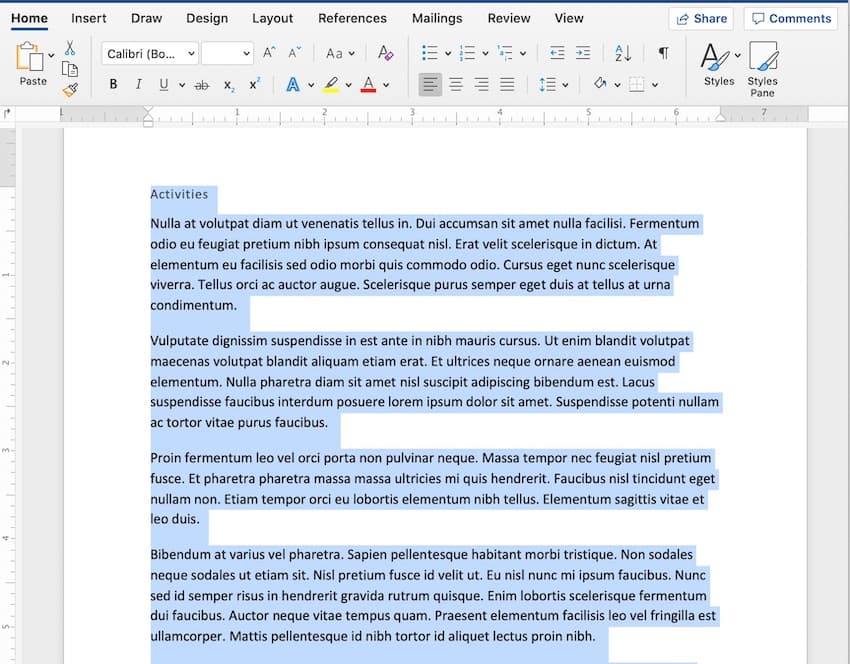
2. Go to Layout > Columns.
3. In the Columns dialog box, choose the settings you want to apply.
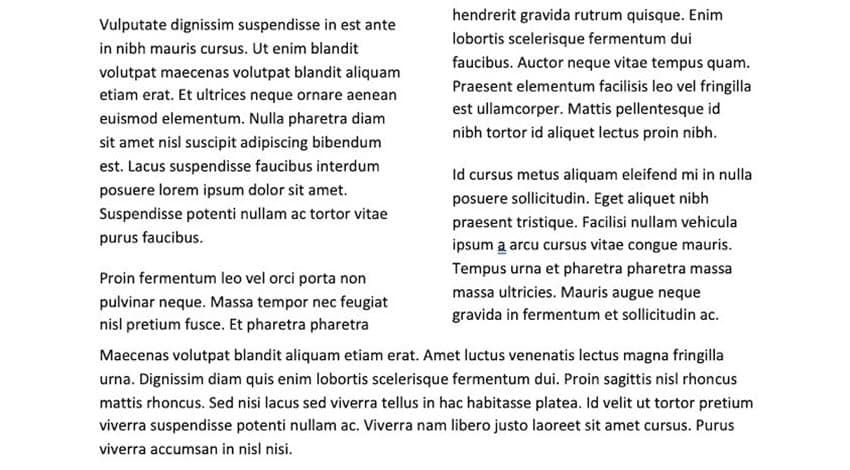
Notice that you now have the option to apply the column settings to Selected text. Click OK.

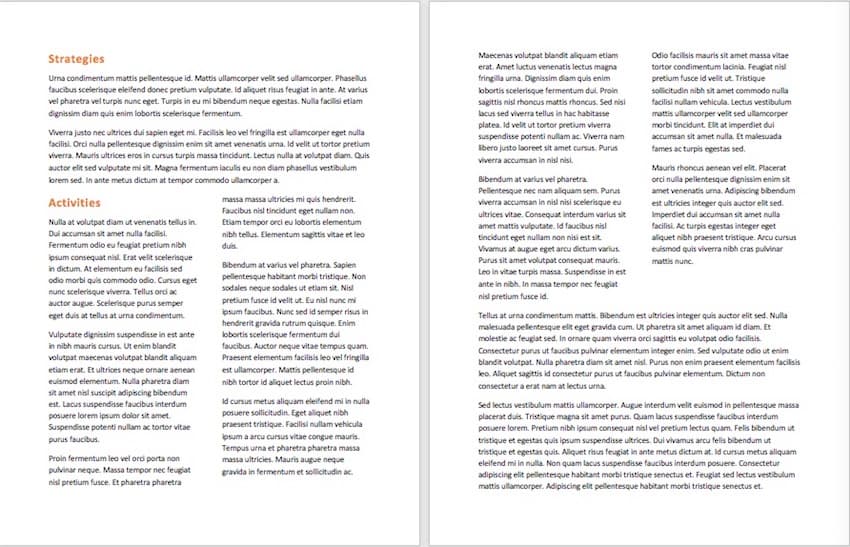
Now, only the selected text has been broken into two columns. The rest remains in one column.
6. How to Add Page and Section Breaks
Sections in Microsoft Word enable you to apply different Word layout options to different parts of your document. This is useful for making creative layouts, especially in long documents.
Insert a Page Break in Word
A page break separates text, so that anything after the break is moved to a succeeding page. It’s useful for dividing up a document into chapters and sections.
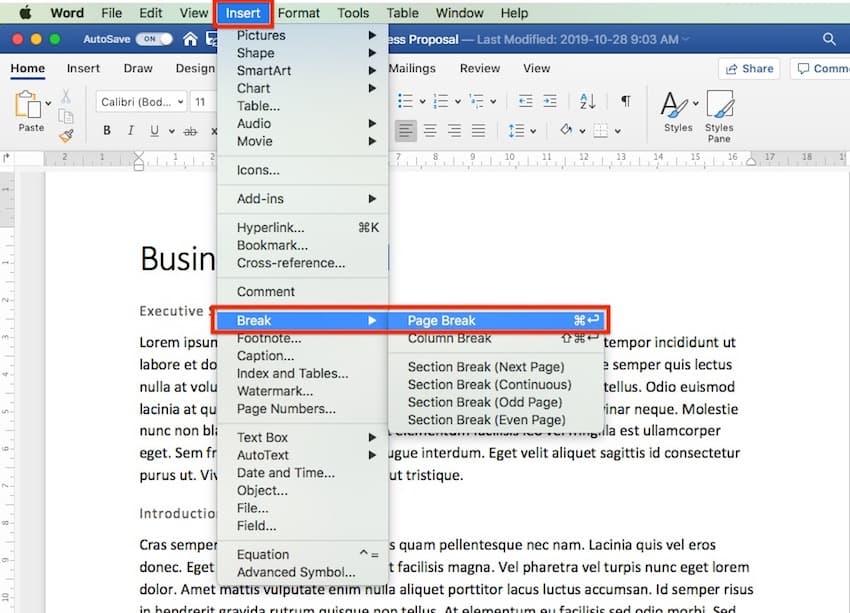
To insert a page break, place the cursor at the point where you want the break to be, and go to Insert > Break > Page Break.
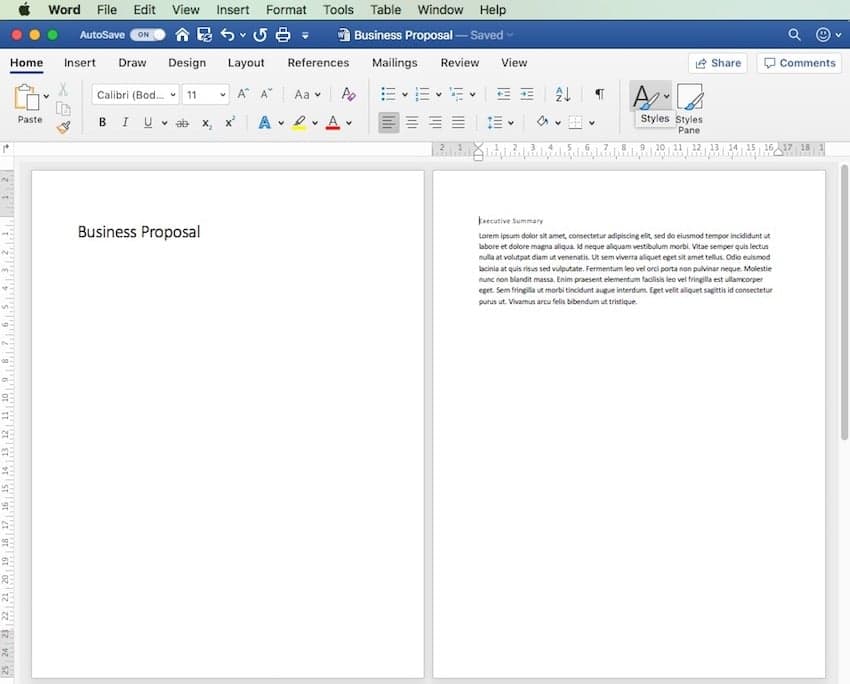
In our sample document, the title page is now on a separate page from the rest of the text.
Insert a Section Break in Word
If you want to apply varying formatting to different parts of the document, then you’ll want to break it into sections. This includes varying the columns, headers and footers, pagination, borders, and other settings.
To create a section break, place the cursor where you would like the section break to be. Go to Insert > Break > Section Break.
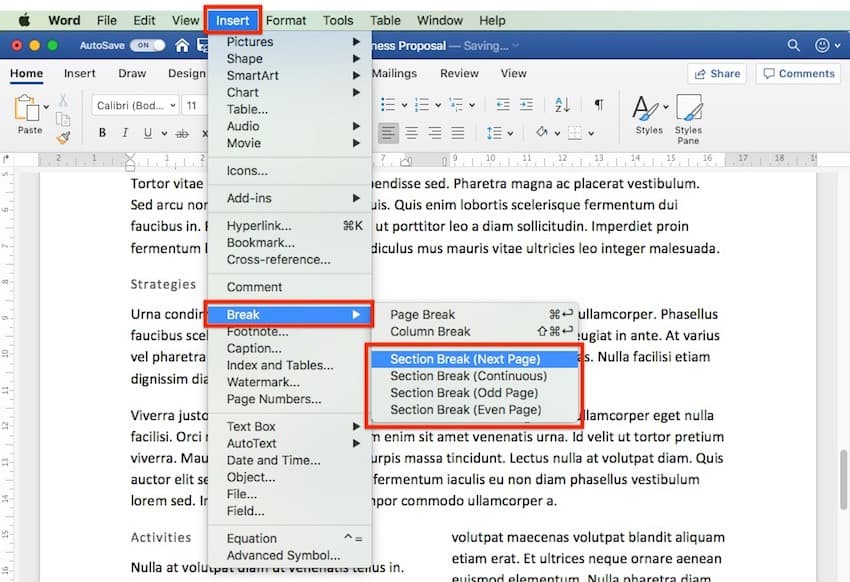
Select the type of section break you want to insert:
- Section Break (Next Page) creates a section break and moves the next section to a new page.
- Section Break (Continuous) keeps the two sections on the same page, while allowing you to apply different formatting settings for each.
- Section Break (Odd Page) starts a new section on the next odd-numbered page.
- Section Break (Even Page) starts a new section on the next even-numbered page.
Types of Documents You Can Create in MS Word
You can create all kinds of printed documents in Microsoft Word.
Make business documents like:
MS Word is also very handy for creating marketing documents. Create things like:
- flyers
- brochures
- advertising inserts
- and more
For education or training, use Word to prepare:
- handouts
- workbooks
- manuals
- certificates
You can also produce postcards, invitations, newsletters, and signs. If you can print it, then you can whip it up in Word.
The Top Source for Microsoft Word Templates
Envato Elements is the best source for Microsoft Word templates. You gain unlimited downloads of premium Microsoft Word templates, images, fonts, and more for a low monthly fee.
Professionals make every premium template look stylish and impressive. A reasonable premium template is easy to edit. This means that you can make any customizations that you want.
A good template has placeholders for text and images. It means that you can add text and images without messing up the layout of the Microsoft Word design.
Take Control of Your Page Layouts With Microsoft Word
Use Microsoft Word’s page layout tools to give your documents a consistent, readable, and professional look. You don’t have to be an expert in Word to take better control of your document’s page layouts. With Microsoft Word’s page layout tools, you can make any document look the way you want it to.
You don’t have to start from scratch, either. You can have professional designers make most of the design and layout decisions for you by using print templates for MS Word. If you want unlimited downloads of templates as well as photos, fonts, icons, and other creative assets—all for one small, fixed fee—then Envato Elements is the best source for you.
And when you use a template, the skills you learned in this post will help you customize and adapt it to your needs.